GPT-SoVITS for local inference on Intel or Apple Silicon Mac
Introduction
The GitHub repository for “GPT-SoVITS” is a project focused on voice data processing and text-to-speech (TTS) technology. It highlights the capability of training a good TTS model using as little as one minute of voice data, a method known as “few shot voice cloning.” The project is under the MIT license and involves Python as its primary programming language.
Important: This tutorial has expired, and the project has supported MAC, please follow GitHub’s tutorial.
This tutorial will talk about how to running this project using the CPU under the Mac platform.
- Don’t think about trainning on Mac yet, It’s good enough if they can preprocess and infer. Running LLM might be possible, but if anyone has successfully trained on a Mac (with MPS), please let me know.
- This tutorial mainly talks about the inference process after training and downloading the model to the local machine. I have tested it, and it all works.
- Training related information can be found in the reference videos above, which are very detailed. The dataset is the key, and patience is needed for training.
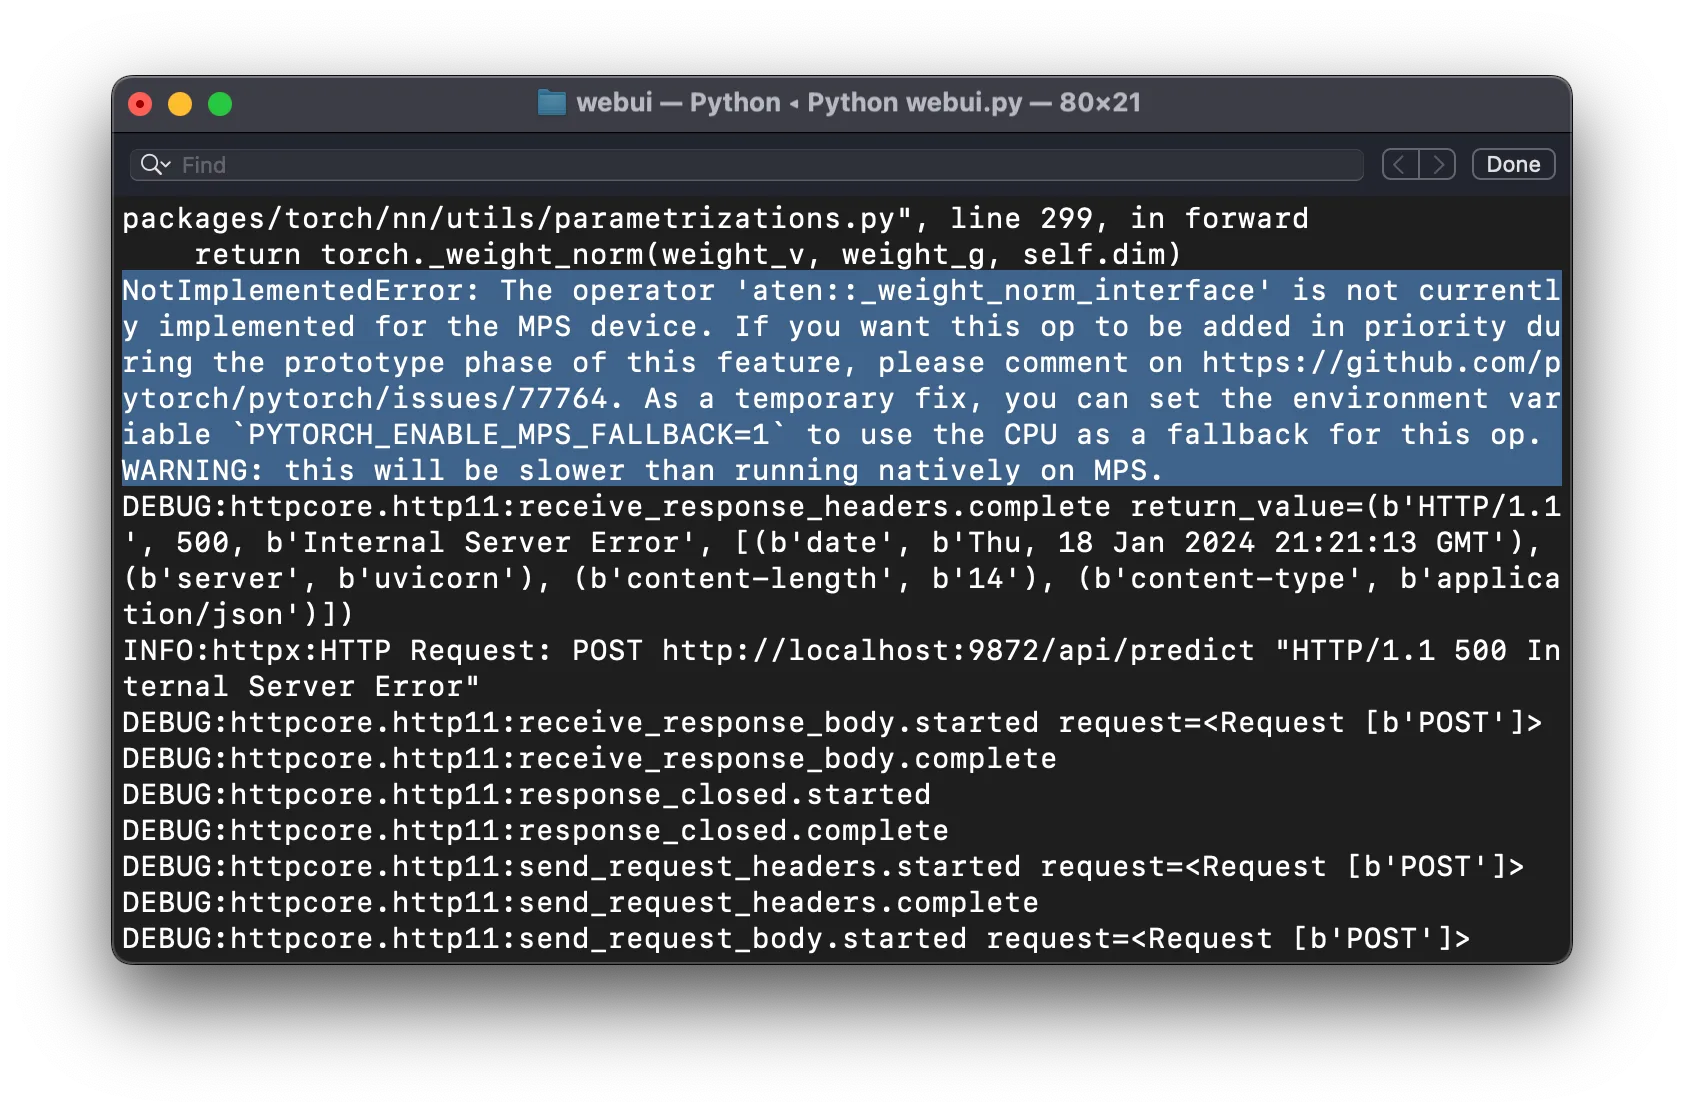
MPS Not Supported


Project link: https://github.com/RVC-Boss/GPT-SoVITS
This tutorial is for communication and learning purposes only. Please do not use it for illegal, immoral, or unethical purposes.
Please ensure that you address any authorization issues related to the dataset on your own. You bear full responsibility for any problems arising from the usage of non-authorized datasets for training, as well as any resulting consequences. The repository and its maintainer, svc develop team, disclaim any association with or liability for the consequences.
It is strictly forbidden to use it for any political-related purposes.
Software requirements:
- Homebrew https://brew.sh/
- VScode (optional)
- Python3.9
1 | brew install python3.9 |
Local Inference
1. Create venv
Create a virtual environment
1 | python3.9 -m venv myenv #change 'myenv' to a different name |
2. Enter venv
1 | cd myenv |
1 | source bin/activate |
3. Download Project
1 | git clone https://github.com/RVC-Boss/GPT-SoVITS.git |
cd to the project directory
4. Download Package
1 | brew install ffmpeg |
1 | pip install torch numpy scipy tensorboard librosa==0.9.2 numba==0.56.4 pytorch-lightning gradio==3.14.0 ffmpeg-python onnxruntime tqdm cn2an pypinyin pyopenjtalk g2p_en chardet |
Additional Requirements
If you need Chinese ASR (supported by FunASR), install:
1 | pip install modelscope torchaudio sentencepiece funasr |
Note: If you find No module named Just install that package
You can also use requirements.txt to install, but if there are some problems, just install what I mentioned before.
1 | pip install -r requirements.txt # No need to run this |
Download pretrained models from GPT-SoVITS Models and place them in GPT_SoVITS/pretrained_models.
For Chinese ASR (additionally), download models from Damo ASR Model, Damo VAD Model, and Damo Punc Model and place them in tools/damo_asr/models.
For UVR5 (Vocals/Accompaniment Separation & Reverberation Removal, additionally), download models from UVR5 Weights and place them in tools/uvr5/uvr5_weights.
If you want one click package: https://github.com/RVC-Boss/GPT-SoVITS/issues/4
5. Start WebUI
1 | python web.py |
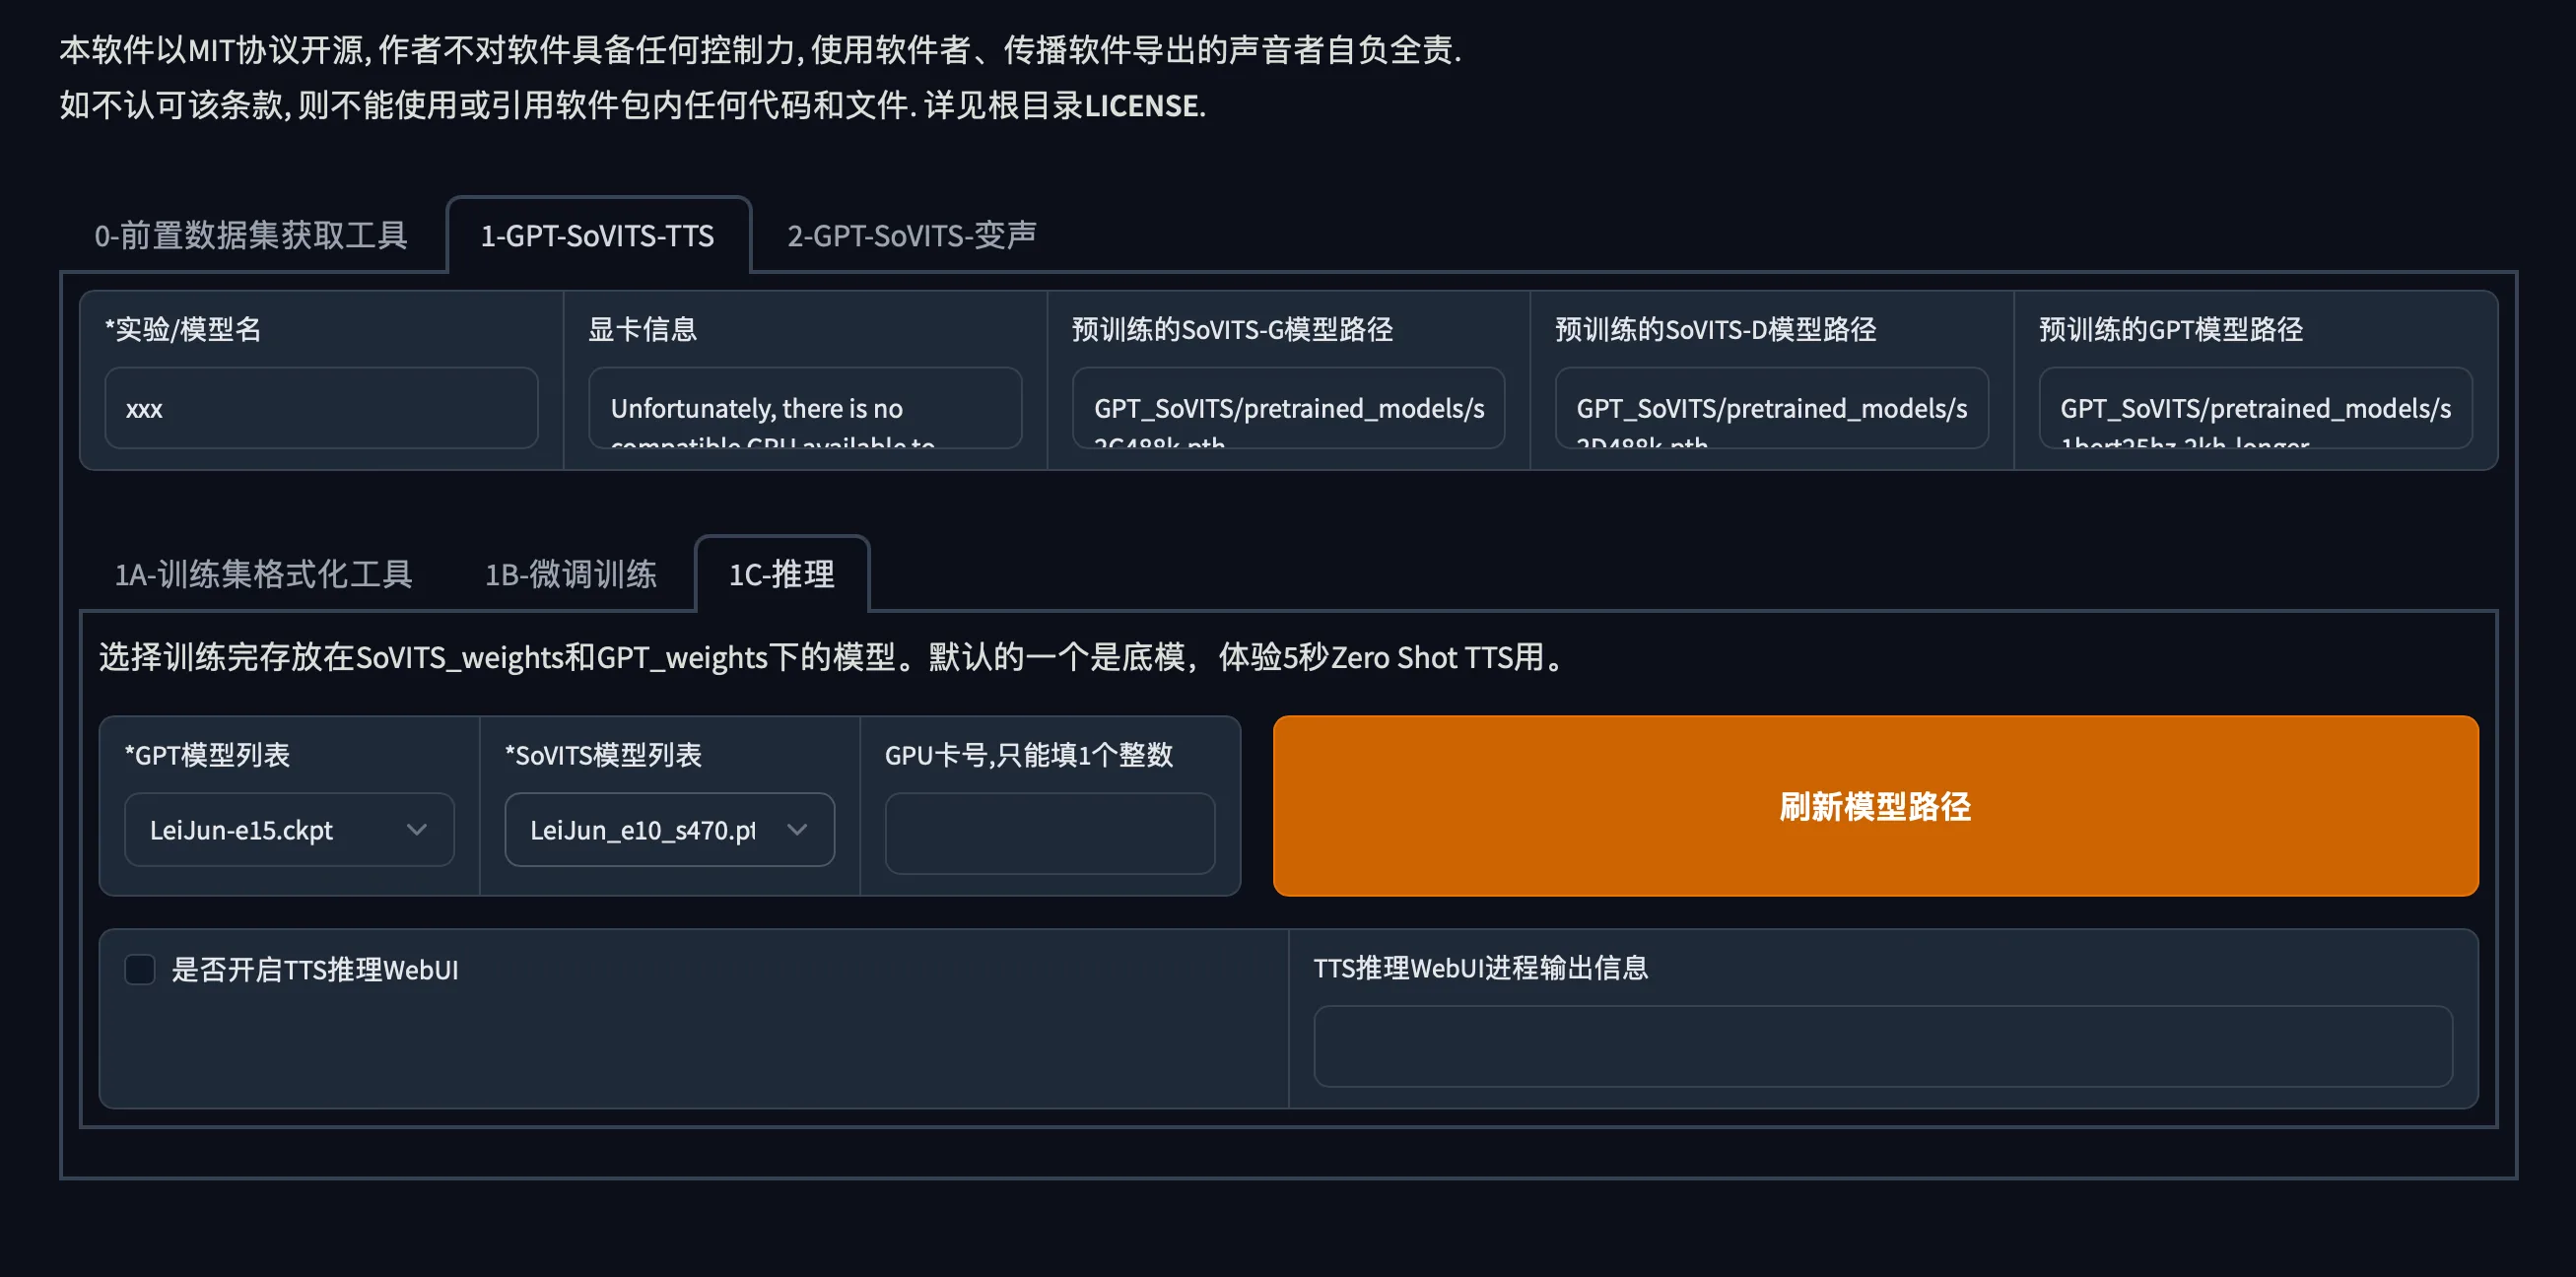
6. Choose Models
The models are in these two folders, one is the GPT model and the other is the SoVITS model. You should put the file to the right folder
Click 是否开启TTS推理WebUI
An error may be reported at this time.
You need to modify GPT_SoVITS/inference_webui.py to use CPU inference.
1 | ├── GPT_weights |
7. Change inference_webui.py
- Change
CUDAtoCPU - Change half precision to full precision
model.half()—>model.float()
Processed file: https://github.com/RoversX/GPT-SoVITS/blob/main/GPT_SoVITS/inference_webui.py
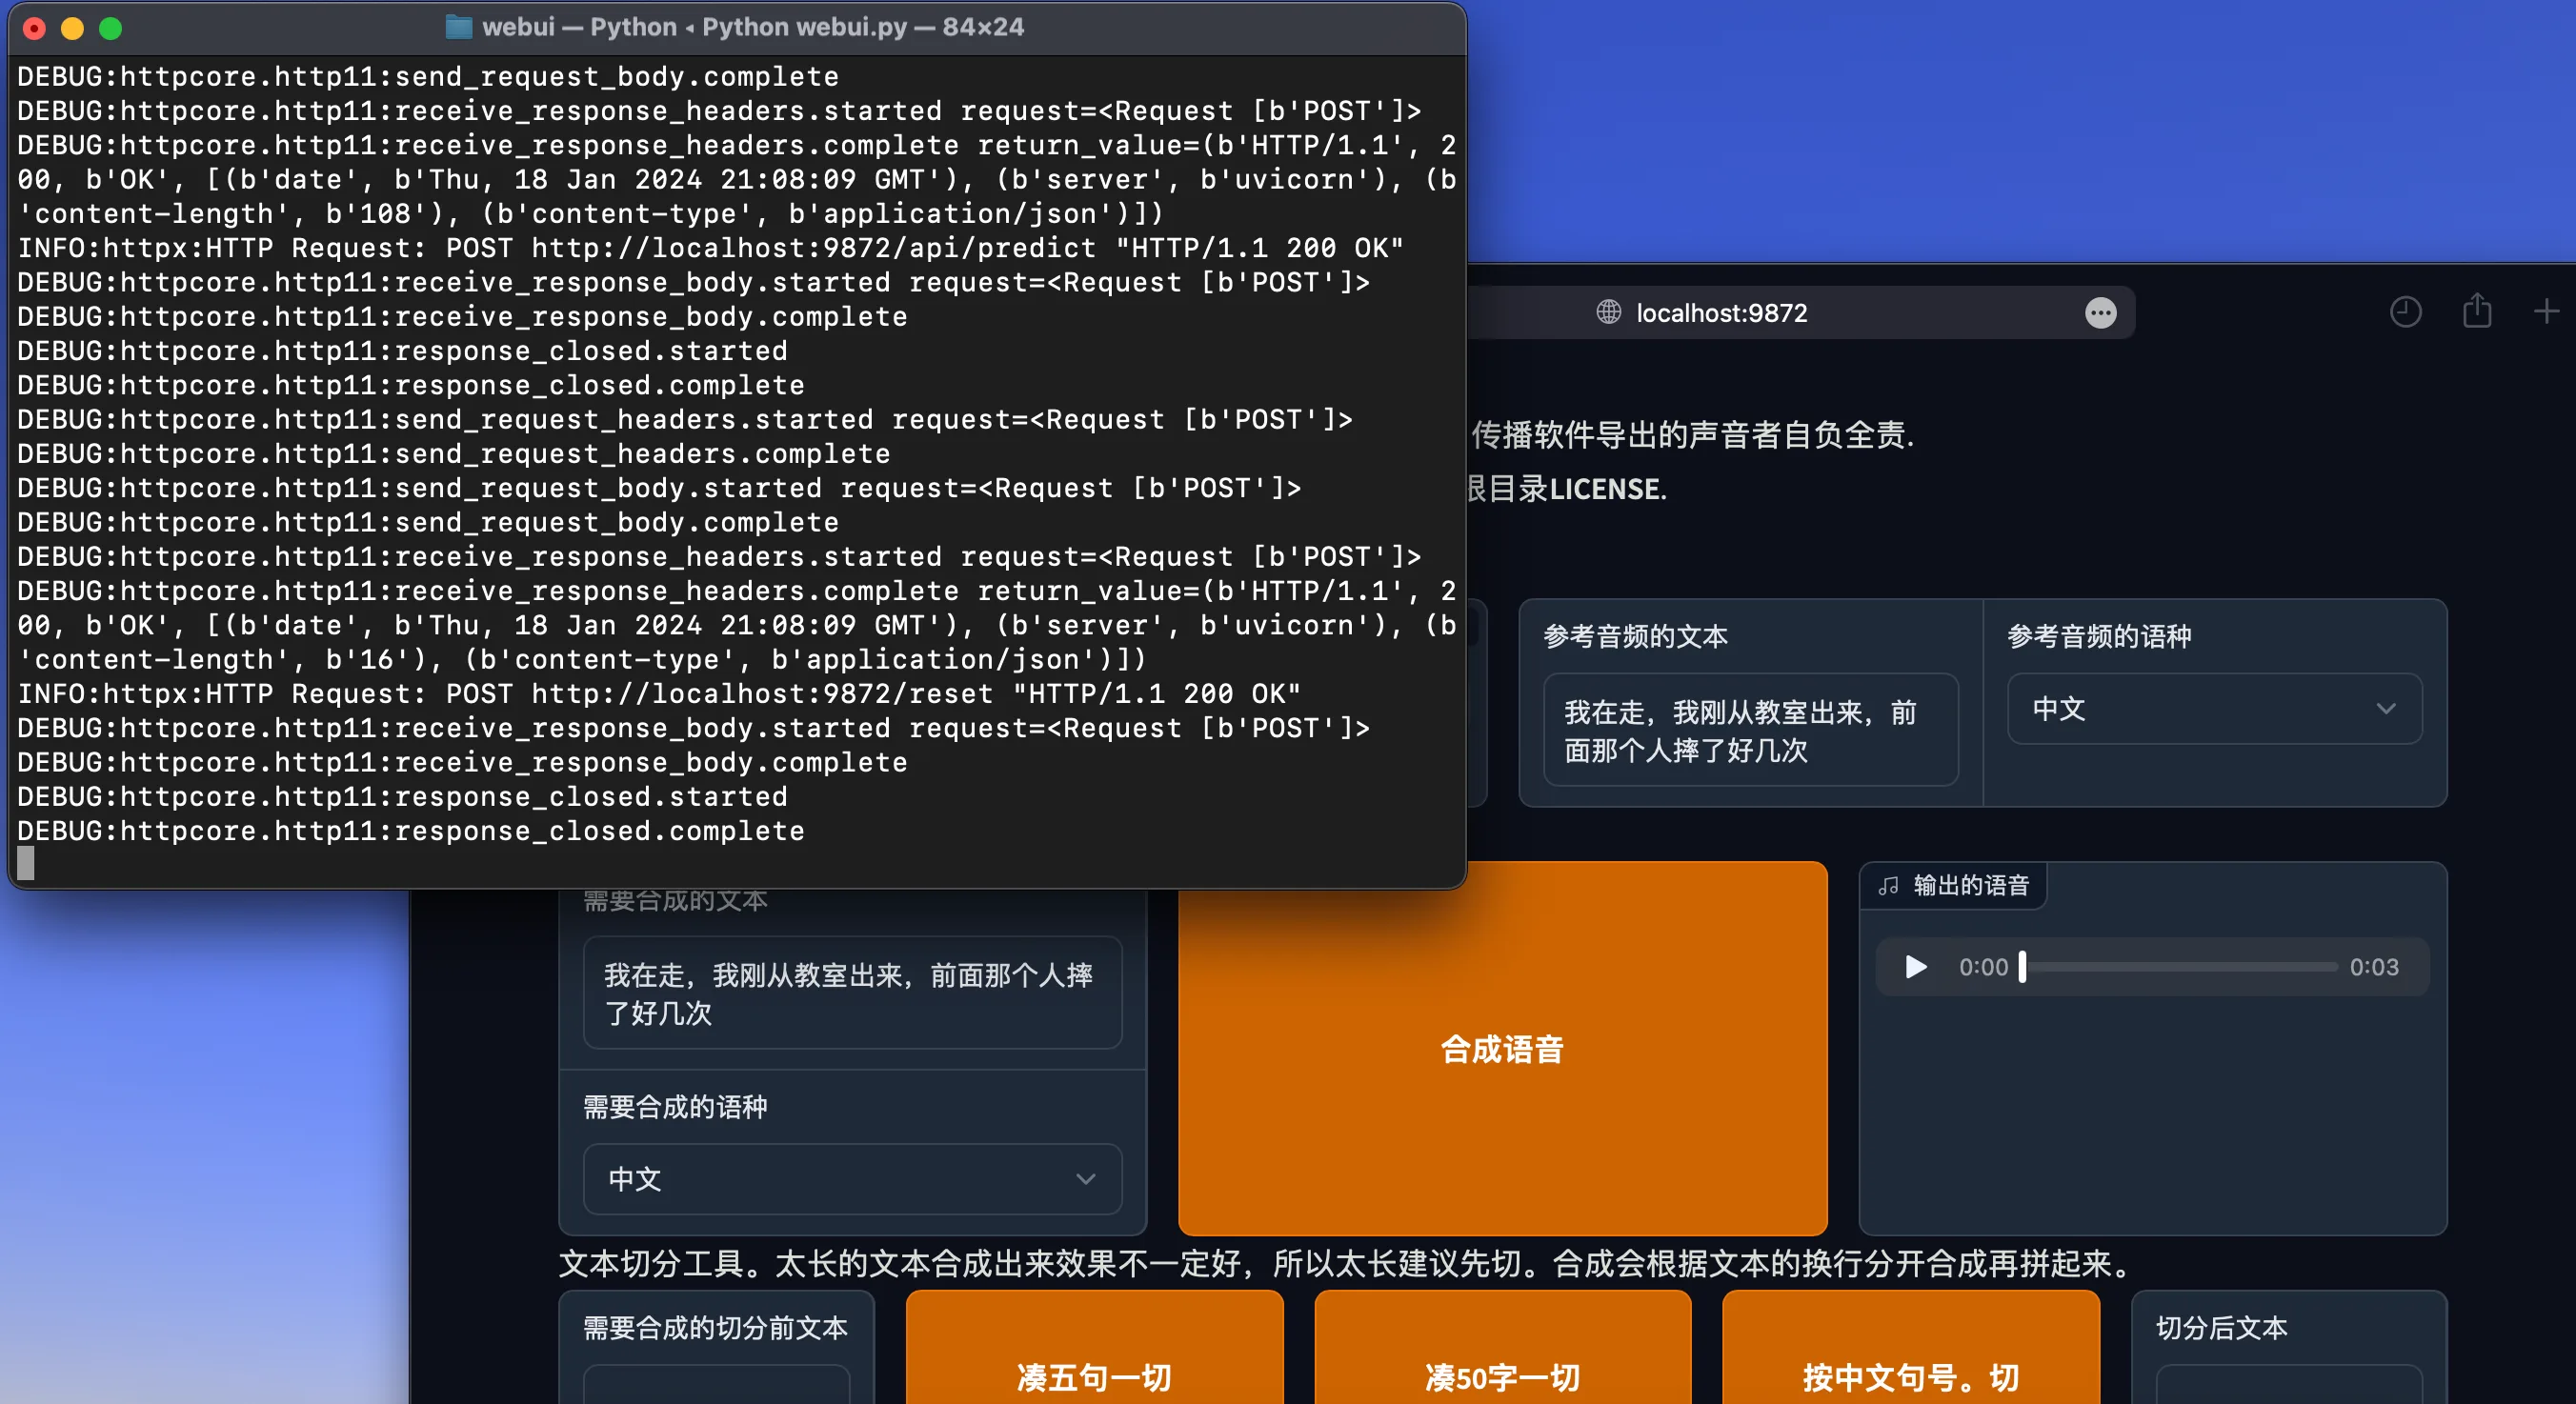
Just save the changes and re-run it to run.
Thanks for reading. If there are any questions or better methods in the tutorial, please point them out.


