SwiftUI Basic 1
Introduction
What is SwiftUI?
SwiftUI helps you build great-looking apps across all Apple platforms with the power of Swift — and as little code as possible. With SwiftUI, you can bring even better experiences to all users, on any Apple device, using just one set of tools and APIs. SwiftUI
![]()
Environment and Software
- MacOS(64bit)
- Xcode13
- Optional: iPadOS
Recommend Tutorial
Online
Youtube
Learn SwiftUI online for FREE | Bootcamp #0
Building your first iOS app - SwiftUI Livestream
Build your first iOS app with SwiftUI
Build a Recipe App from scratch with SwiftUI - Part 1
Declarative syntax
SwiftUI uses a declarative syntax, so you can simply state what your user interface should do. For example, you can write that you want a list of items consisting of text fields, then describe alignment, font, and color for each field. Your code is simpler and easier to read than ever before, saving you time and maintenance.
1 | import SwiftUI |
PART1
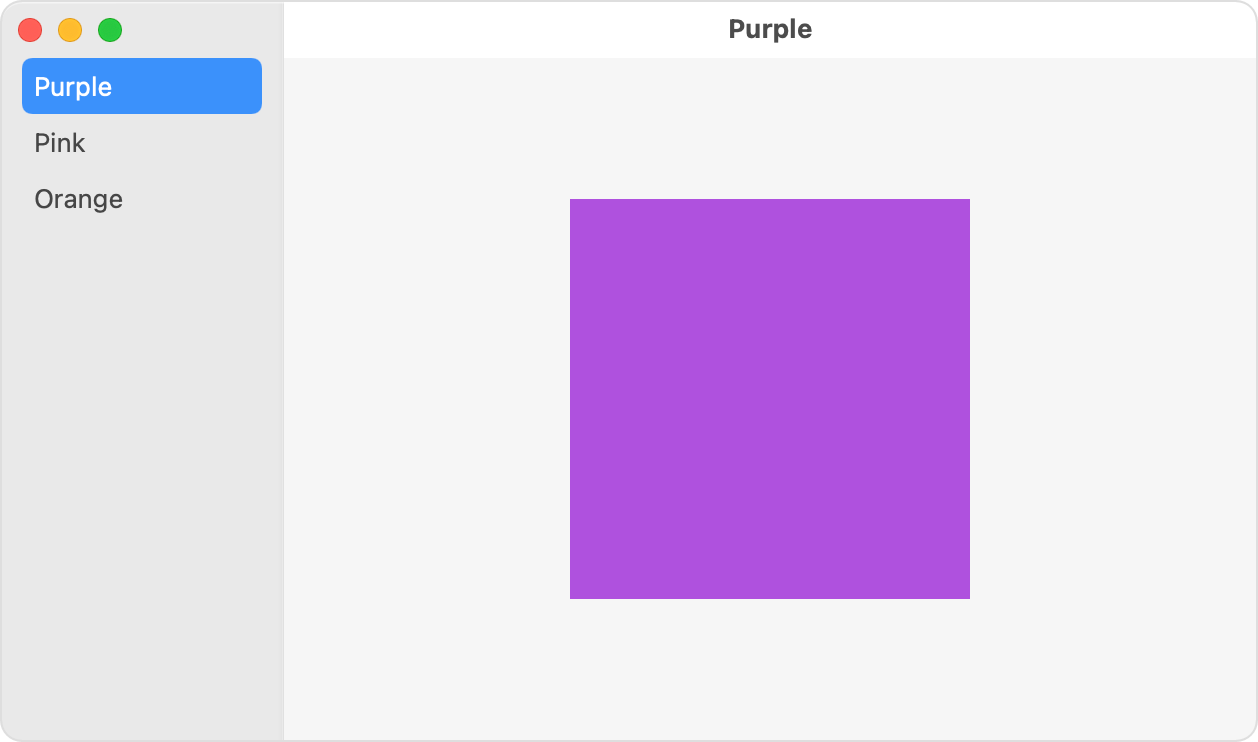
TabView
1 | struct ContentView : View { |
- You also need to prepare FirstView() to FourthView()
Now look at one of the views:
Sets the tab bar item associated with this view.
1 | TabView { |
1 | ThirdView() |
- Label is better
Part1 Reference
PART 2
NavgationView
Simple NavigationView
1 | struct ContentView: View { |
You also need to add a Title.
NavigationTitle
1 | .navigationTitle("TEXT") |
Buttons with navigation view
Add leading and trailing buttons to the navigation bar using navigationBarItems() modifier. Leading button is an SF Symbol(you can download there)
1 | NavigationView { |

Stack
A navigation view style represented by a view stack that only shows a single top view at a time.
If you are doing some iPad Version Development, you may see some differences between iPad and iPhone View. The title seems to have some problems.
Use this to solve.
1 | .navigationViewStyle(.stack) |
NavigationLink
A view that controls a navigation presentation.
Declaration
1 | struct NavigationLink<Label, Destination> where Label : View, Destination : View { |
Overview
Users click or tap a navigation link to present a view inside a NavigationView. You control the visual appearance of the link by providing view content in the link’s trailing closure. For example, you can use a Label to display a link:
1 | NavigationLink(destination: FolderList(id: workFolder.id)) { Label("Work Folder", systemImage: "folder")} |
For a link composed only of text, you can use one of the convenience initializers that takes a string and creates a Text view for you:
1 | NavigationLink("Work Folder", destination: FolderList(id: workFolder.id)) |
Here is a example from Apple developer
1 | NavigationView { |
Anyway, there are two parts of the Navigationlink.
One is the input and one is the output.
Part2 Reference
SwiftUI NavigationView tutorial with examples
PART 3
VStack、HStack、ZStack
HStack: aligns items in a horizontal fashion.
VStack: aligns items in a vertical fashion.
ZStack :stacks items in a layered fashion.

1 | // Stack views vertically and take full height |
(Source: Design+Code)
Get Started