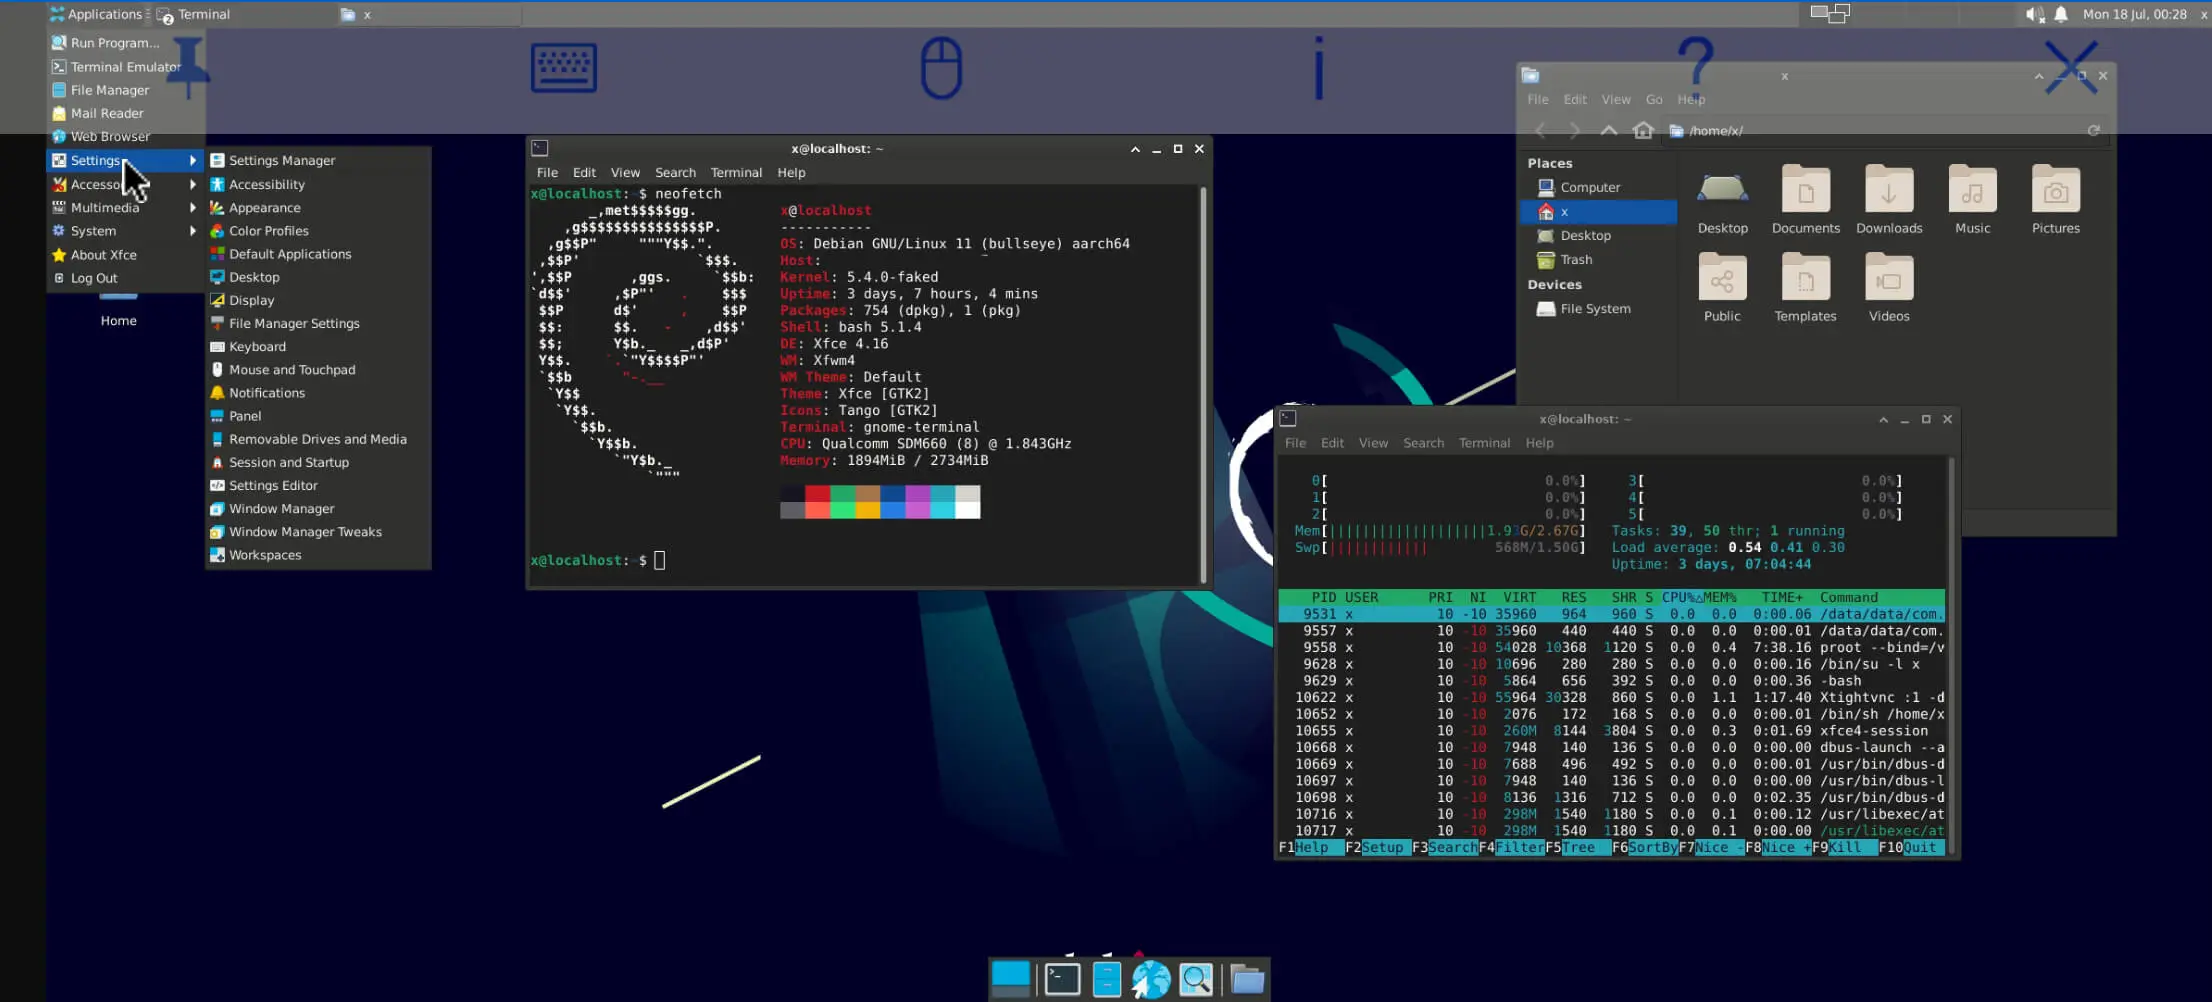
Termux Install Full Debian Desktop on Android (rootless) 2022
What is Termux?
Termux is an Android terminal emulator and Linux environment app that works directly with no rooting or setup required. A minimal base system is installed automatically - additional packages are available using the APT package manager.
Requirement
AndroidDevice( no need to Root)Termuxit self- RealVNC Viewer
- Optional: RealVNC Server Arm64
Official Link:
Step1
Install Termux
Install RealVNC Viewer
Step2
Update your Termux and Change Source.list
Run this command to Change Source.list
1 | termux-change-repo |
Run this command to Update Termux
1 | pkg update & & upgrade -y |
Step3
Install Proot-distro and X11-repo
1 | pkg install x11-repo proot-distro |
Step4
Install latest Debian in Proot-distro
1 | proot-distro install debian |
Tips:
To show what you can install in Proot-distro
1 | proot-distro list |
Step5
Login Debian and Update System
1 | proot-distro login debian |
Tips: You can’t use sudo when you are in Debian yet
Update System
1 | apt update -y |
Upgrade System
1 | apt upgrade -y |
Step6
Install sudo nano and add an new user
1 | apt install sudo nano |
1 | adduser <chose a user name> |
For example:
1 | adduser x |
after run this command create a new password and click enter until it say: Is the information correct ? Click Y to continue
Step7
Let new user have root permissions
1 | nano /etc/sudoers |
Add a new usr under root
1 | x ALL=(ALL:ALL) ALL |
Click CTRL+O Write
Click Enter Save
Click CTRL+X Quit
STEP8
Easier way to login Debian
Click exit to quit Debian
1 | exit |
Login as new user
1 | echo "proot-distro login --user x debian" >> $PREFIX/bin/debian |
Give permission
1 | chmod +x $PREFIX/bin/debian |
Login
1 | debian |
Step9
You can finally use “sudo” now
Time to install everything now
Tips: Install bus-x11 is to fix
1 | sudo apt install xfce4 gnome-terminal tightvncserver dbus-x11 |
Wait Now
Step10
Lunch Xfce4
1 | nano ~/.vnc/xstartup |
Add one more command at the bottom
1 | startxfce4 & |
Step11
Lunch
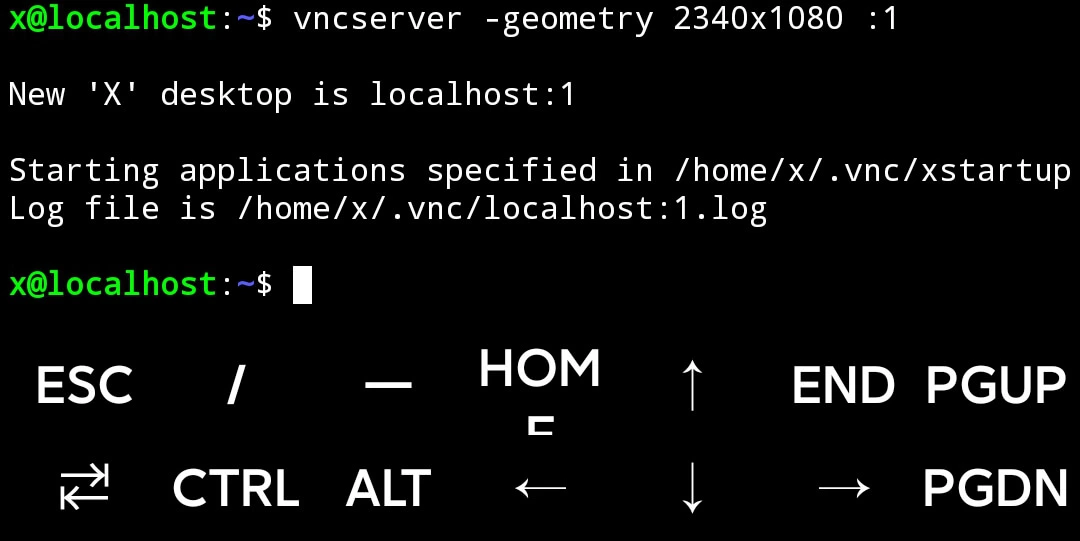
1 | vncserver -geometry 2340x1080 :1 |
Go to VncViewer and add a new connection
The name depends on the What terminal tell you
In general the name is localhost :1
The Password will be the first time you set when lunch vncserver
Step12 (Optional)
Install RealVncServer
1 | sudo apt install wget |
1 | wget https://downloads.realvnc.com/download/file/vnc.files/VNC-Server-6.10.0-Linux-ARM64.deb |
1 | dpkg -i VNC-Server-6.10.0-Linux-ARM64.deb |
1 | sudo vnclicensewiz |
Enter your account or Lisence
If there have some problems, you can find more in
https://forums.raspberrypi.com/viewtopic.php?t=288769
https://github.com/azalinux/realvnc-server-aarch64-manjaro/issues/6
Reference:


